
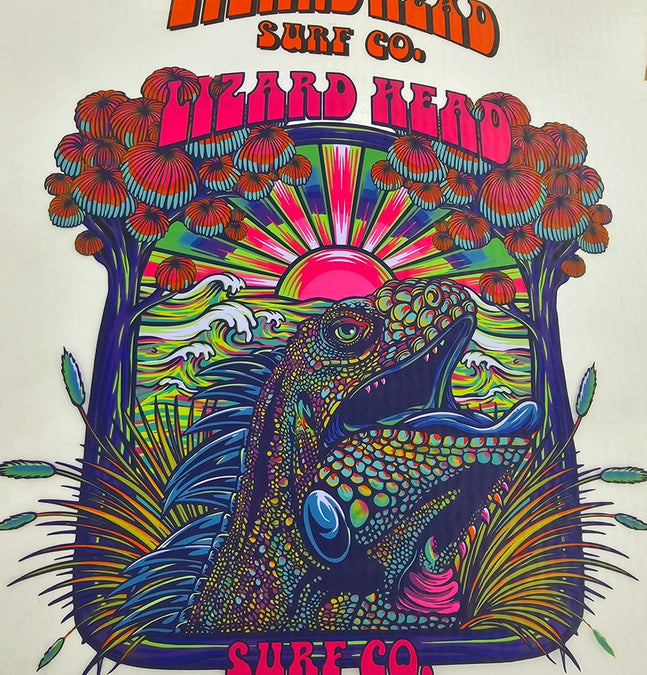
Direct-to-Film printing has completely changed the custom apparel industry. Whether you're printing t-shirts for your brand, creating event merchandise, or launching a clothing business, high-quality artwork preparation is the key to getting clean, vibrant, and professional DTF prints.
At Monkey Transfers, we see one common issue every day — great designs uploaded in the wrong format. The result? Blurry prints, incorrect colors, unwanted backgrounds, or low print quality.
This guide will walk you through everything you need to know before uploading your artwork for DTF printing in 2025.
Why Artwork Preparation Matters
DTF printers reproduce exactly what you upload. Unlike traditional printing methods, there’s very little room for fixing poor-quality files during production.
Proper artwork setup helps ensure:
- Sharp and clean print quality
- Accurate colors
- Smooth gradients
- Crisp text and edges
- Faster production turnaround
- Fewer reprint issues
If your file is blurry on screen, it will be blurry on fabric too.
Best File Formats for DTF Printing
Choosing the correct file format is the first step.
Recommended File Types
- PNG (Preferred)
- PSD
- AI
- EPS
For most customers, PNG files with transparent backgrounds work perfectly.
Why PNG Works Best
PNG files support:
- High resolution
- Transparent backgrounds
- Sharp edges
- Easy uploads
Avoid screenshots, compressed JPGs, or images downloaded from social media whenever possible.
Use High Resolution Artwork
Resolution directly affects print clarity.
Recommended Resolution
- Minimum: 300 DPI
- Best Size: Actual print dimensions at 300 DPI
For example:
| Print Size | Recommended Canvas Size |
|---|---|
| 10" x 10" | 3000 x 3000 px |
| 12" x 16" | 3600 x 4800 px |
Low-resolution artwork may look acceptable on a phone screen but will appear pixelated when printed.
Transparent Backgrounds Are Essential
One of the biggest mistakes customers make is uploading artwork with white or colored backgrounds.
DTF transfers work best when the design background is fully transparent.
Correct Setup
- Save files as transparent PNGs
- Remove all unwanted background layers
- Double-check edges for leftover pixels
Common Problem
If you see a checkerboard background in Photoshop or Canva, that usually means transparency is enabled correctly.
Convert Text to Outlines
Fonts can sometimes change when files are opened on different systems.
Before exporting your artwork:
- Convert all text to outlines
- Flatten unnecessary layers
- Save editable source files separately
This ensures your design prints exactly as intended.
Use RGB Color Mode
Most modern DTF workflows are optimized for RGB artwork.
Recommended Color Settings
- RGB for design creation
- Avoid CMYK unless specifically requested
RGB artwork usually produces brighter and more vibrant print results.
Keep in mind that fabric printing may still vary slightly from screen colors due to monitor differences.
Avoid Tiny Details
DTF printing captures impressive detail, but extremely thin lines and tiny text may not print cleanly.
Best Practices
- Minimum line thickness: 1 pt
- Avoid tiny unreadable fonts
- Leave enough spacing between elements
If your design looks difficult to read when zoomed out, it may also be difficult to print.
Check Your Artwork Before Uploading
Before submitting your file to Monkey Transfers, run through this quick checklist:
Artwork Checklist
- File is high resolution (300 DPI)
- Background is transparent
- Correct dimensions are used
- Colors look accurate
- Text is outlined
- No blurry edges
- File format is PNG, PSD, AI, or PDF
Taking two extra minutes to review your file can save hours later.
Best Software for Creating DTF Artwork
Popular design tools used in 2025 include:
- Adobe Photoshop
- Adobe Illustrator
- Canva Pro
- Procreate
- CorelDRAW
Even beginner-friendly tools like Canva can create excellent DTF-ready artwork if exported correctly.
Final Thoughts
The better your artwork preparation, the better your final DTF print will look. Clean files help reduce production delays, improve print quality, and ensure your transfers apply perfectly on fabric.
Whether you're a first-time customer or an experienced apparel brand, following these simple preparation steps will help you get professional-quality results every time.
Ready to print your next design? Upload your artwork and let Monkey Transfers bring it to life.